Buzzings from a quilter who bumbles her way through life!

Monday, October 29, 2012

What I've Been Up To Lately!


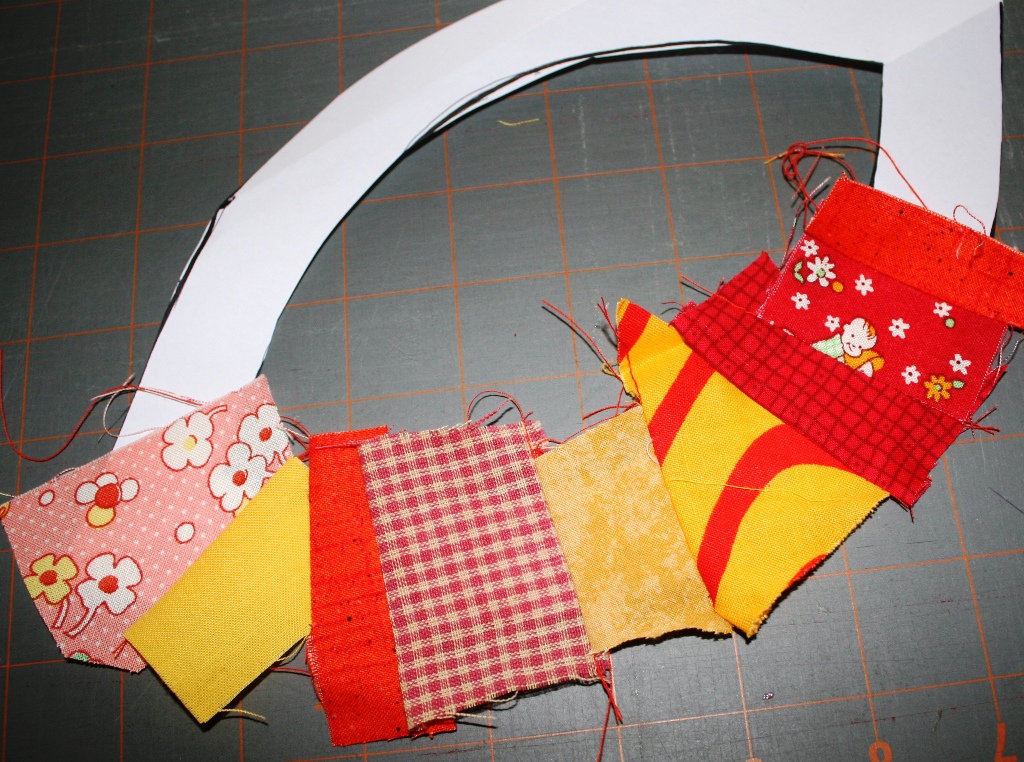
Palace Doors, design and fabric by Amanda Murphy
I have been a busy gal lately, as you may have noticed by fewer tutorials. I was honored to sew a wall hanging for the fabric designer, Amanda Murphy, to help her out before the Houston Quilt Market. Since Market is over, I can mention it now and can show a photo. (My photo was taken very quickly so I could get it to the post office as soon as possible after finishing. It was a windy day, but I couldn't wait for the breeze to die down!) You can see all of Amanda's new fabric designs here.
I've also been participating in quite a few blog hops. They keep me thinking in new directions, like mental exercise. (And I certainly need all of that I can get!) I'll be posting Monday in the U R Priceless Blog Hop. I'll be showing you all the little coin purses I made using a variety of sew-in purse frames. If you are looking for ideas for gifts for the upcoming holidays, be sure and join us for this! I'm surprised at how much variety there can be with such a simple little frame. 
Beside that, I have been trying (along with others) to sew 200 tote bags for a charitable event. I certainly don't have to sew all 200 myself, but that is still a large number even for several of us. We are at about 166 now. We have a couple more weeks before we need to send them off! You can see more about that in this post.  
I'll also be blogging about a few ideas for the holidays very soon!
Until next time.... 
post signature

Giveaway Wiinner!

The winner of my giveaway in the "Wicked" blog hop was #127, Luann! Congratulations, Luann! I've sent you an email and you can select your free pattern! I wish everyone could win! Thank you all for playing along!                                                                                                    I'm participating in the "U R Priceless" blog hop and my day will be on November 5, so be sure to join us from November 5 - 13 for an interesting hop. You may get some great ideas for gifts and there will be giveaways, too!   Featured in this hop will be little sew-in purse frames that you customize in any way you want.                                                                                                 For those of you who are interested in kits for the Trick or Treat quilt above, be sure to let me know in the next few days. You can have a head start on the holiday for next year!!!!                                                                                           
 

Friday, October 26, 2012

Spider Web Batk Tutorial

Creepy Crawler Countdown
Look out! It's coming! Only a few more days until all those little goblins will be knocking on your door!

This little countdown wall hanging will help your children keep track of the days in the week before Halloween. (Or use it all year to keep track of other things. For example, "Each day your room is clean the spider will climb one number  away from the child. When you have kept it clean for 7 days in a row, we'll celebrate!" 
The spider web block (there are two of them here) is an easy School Glue Resist project that you can let your children help you with! Take a look before you decide you can't do it. It's EASY!

The spider web blocks in the countdown wall hanging above were just unbleached muslin when I started. Here's how you can make your own:
1. Cut your muslin about an inch larger than the block you will need. If you want a 10 1/2" block, cut it 11 1/2" so that you can trim it to size afterward. It might shrink a little in the process.  Now, using ordinary WASHABLE school glue (it comes in a blue gel or in a white that looks like regular Elmer's liquid glue, not glue stick) draw a spider web on your fabric. Keep the lid on tight enough that the flow of glue is very narrow.  Let the glue dry well.
2. Now brush on your color. I've used Setacolor Transparent Fabric Paint, but watered down acrylic will work as will any fabric dye. Let this dry. I put mine out in the sun to dry. 
After it dries, press it well with a hot iron to heat set the color.

 3. Wash the residual color and glue out of the fabric. You may need to use a nail brush or toothbrush to brush out some of the stubborn glue. After it is all out, you can squeeze out all the water and then iron the fabric dry. 
4. You've made a batik!!! You can add a border and put it in a wall hanging or quilt. I sewed tiny glass beads on my web to mimic dew. 
5. You don't have to design a spider web, you could draw anything you want with the school glue and use any color over it you want! You can be a fabric designer! Give it a try! It really is very easy. 
I have several Halloween quilt patterns available in my Craftsy store.
Can't seem to make him stand up! This is Halloween Skeleton.

 You still have time to make one, especially if you use machine applique instead of hand applique. Just click on the Craftsy button on my sidebar and it will take you there. 
Until next time....... 
post signature

Monday, October 22, 2012

Trick or Treat! My Day on the Wicked Blog Hop!

Hello there, everyone! I can't believe it's almost Halloween! Welcome to the Wicked Blog Hop! (No, not wicked as in "evil", but the more contemporary meaning - awesome, great, WOW!) I hope you finish the hop feeling inspired! (By the way, that is NOT me above! I am not that tired yet!)
My little block turned out to be a bigger project than I first planned. 
I started out with just four half-square triangle blocks, each 12 1/2" square. I made each in orange and gray.
    I sewed the four blocks together......
 and then the fun began! I drew off a witch face and feet and made an applique of them. I placed the face "peeking" over the center of one square, and the feet poking out from the center of the opposite square. (I think I might make a quilt of squares of Halloween fabrics with the little witch at the top right hand corner, peeking over the edge. I think that would be funny! Maybe by next Halloween I'll have it to show you!)
Before embroidering features....
...or sewing down.
After embroidery. (and a little acrylic paint on her nails!)

 I ended up adding the appliqued Trick or Treat words and adding borders to the four squares. I then quilted and bound it. It's big enough for cuddling a child in or for draping over the Halloween party table (or how about the Breakfast table?).
(By popular demand, I am putting together kits for this little lap quilt/tablecloth. It is 43" x 43". The kit will have very similar, but different fabrics and will include fabrics for the top only. $49.Hair and pattern  IS included. If you want to pre-order one, please contact me HERE )
Would you like a little giveaway? Just comment below for one chance to win and follow on my sidebar for another (or let me know you already follow). I'll choose a winner this week and announce it on Monday, October 29. What will you win? I'll send you a free PDF pattern of your choice from my Craftsy store.

Thank you to Mdm. Samm and Wendy for hosting and cheering us on! You can go to Wendy's blog for a master list of blogs on the hop. Be sure and visit these other blogs today to see what they have to offer. You won't be disappointed!
 Terrifying Tuesday,
23rd of October

Saturday, October 20, 2012

Wicked Blog Hop Starts Monday!

Wicked Blog Hop ScheduleJoin us starting Monday for the Wicked Blog Hop! I'll be posting Tuesday, but every day promises to inspire you with all kinds of tricks and treats! There will be giveaways, tutorials, and ideas galore! You can click on the haunted house on my sidebar for a list of participants, or go to Why Knot Kwilt? for the master list! Our host for this event is Wendy! See you then!

Wednesday, October 17, 2012

Fall Inspiration and a New Quilt Project


I'm very often inspired by the colors in nature. I don't think we can improve on what God puts together for us to enjoy!
 I have a lot of zinnias in my flower beds that are in different stages of growth. Some have just come up from seed and some are dying back. The dead ones are gray. The fresh blooms are red-orange (my favorite color!)
I went out this morning to take some photos and this little butterfly landed on the very flower I was about to photograph. Just as I snapped the picture, he opened his wings, as if on cue! 
I happen to be working on some squares that are in red-orange and shades of gray. These are only squares at this point and can be laid out to form a zig-zag.

I am using scraps of different grays  for the small squares. I no longer have a design wall, so I've had to lay these out on the floor to look. 
I have in mind that this might be a good quilt for one of my sons. (Okay, J, B or D! If you ever read my blog this is a chance for you to put your two cents worth in! Is this masculine enough for you?)
Here are some other red-orange and orange flowers in my fall garden:
Chrysanthemums
Ixora
Orange Bougainvillea
Lantana
We don't have beautiful fall leaves here in South Texas, but the flowers are beautiful!

post signature

Monday, October 15, 2012

Winner of My Giveaway!


I used Random.org to choose my winner from the Leafs Me Happy Blog Hop.  I'm happy to announce that the winner is #27, Jeanie of Gracie Oliver Arts, who wrote: 
"And I'm a new follower."
post signatureCongratulations! 
I wish every one of you could have won!  Jeanie has been contacted by email and will receive her panel as soon as I get her mailing information.


Thursday, October 11, 2012

Tutorial for the Don't Leaf Me Alone block

I promised you a tutorial for my "Don't Leaf Me Alone" block.
My block, shown above, is a simple leaf using lots of small scraps! I thought it up one night when I couldn't sleep and to my amazement, it worked with very little tweaking. I love it when that happens! It is a combination of paper piecing and freezer paper applique, and although I appliqued by hand, you can use your machine to sew it down if you wish. Don't be scared away.....it REALLY is simple, despite the number of steps I've shown. I just wanted to be sure you knew EXACTLY what to do!
1. Fold one sheet of 8 1/2" x 11" paper with a piece of freezer paper. On the fold, draw concentric lines as shown above.

2. Cut on the lines with the paper still folded. When you open it up, you should have shapes similar to the ones above. You will need to repeat this for each leaf you make.


3. Lay a scrap right side up on one point of the bigger plain paper shape. The freezer paper will be used later.
4. Lay another scrap right sides TOGETHER at the edge of the first scrap.
5. Sew 1/4" through all layers including paper at the edge of the two pieces.
6. Turn and press.


7. Continue all the way around to the top. Be sure your pieces overhang each side of the paper by at least 1/4". Starting back at the bottom point, do the exact same thing going up the other side.
8. When you get to the point at the top, clip through the paper so you can sew the two fabrics together. (You can see I just used scrap paper for this!)
9. Put the two fabrics at the top right sides together and sew a seam just where the paper comes together. (You can feel where the stiff paper is and that will help you judge where to sew.)
10. Trim the fabric that overhangs the outside of the shape to about 1/4". (top photo) You will later turn this under, so be sure you have enough to easily turn. Iron the freezer paper shape (the one that matches) to the FRONT. (lower photo)
11. Carefully pull the paper off the back. (I did trim these seams at this point, but that would have been easier to do as I sewed. Live and Learn!)
12. Use a glue stick to turn the seam allowance around the outer edge to the wrong side. Press. Leave the seam allowance in the center as is.
13. After pressing, pull off the freezer paper.
14. Repeat the above steps for the second leaf shape. After turning the edges, use the glue stick to position it in the center of the larger leaf shape. You will applique this down either by hand or machine.
Add caption

15. For the last shape, you will not be piecing. Iron the freezer paper to the FRONT of the fabric you have chosen. Trim around the edge 1/4". Run a line of the glue stick on the WRONG side of the seam allowance and turn the seam to the back. Press. 
16. Use the glue stick to position this shape to the center of your leaf. You are now ready to applique it down.
17. From freezer paper, but a branch and vein design similar to the one above. Use the same method of ironing, trimming, gluing the seam allowance to the back, pressing as in step 15.
 18. Use the glue stick to position the veins where you want them. Applique the entire piece to your block. 

That's all there is to it! I think this could be really pretty as blocks in a larger quilt. 
Remember to check back on Monday to see who won the giveaway! 
Until next time.....
post signature
Related Posts Plugin for WordPress, Blogger...