Buzzings from a quilter who bumbles her way through life!
Showing posts with label tools. Show all posts

Monday, December 31, 2012

My Quilting Secret and a Giveaway!


Welcome to the Quilting Secrets Blog Hop! I had no problem deciding what my favorite secret is when Mrs. Pickles asked. It's glue.... glue sticks, school glue, and fabric glue.
I use glue sticks.....
1) ...when turning raw edges under to prepare pieces for applique. See the tutorial here.

2....when turning under hems before sewing. See tutorial here. You can find a tutorial here.

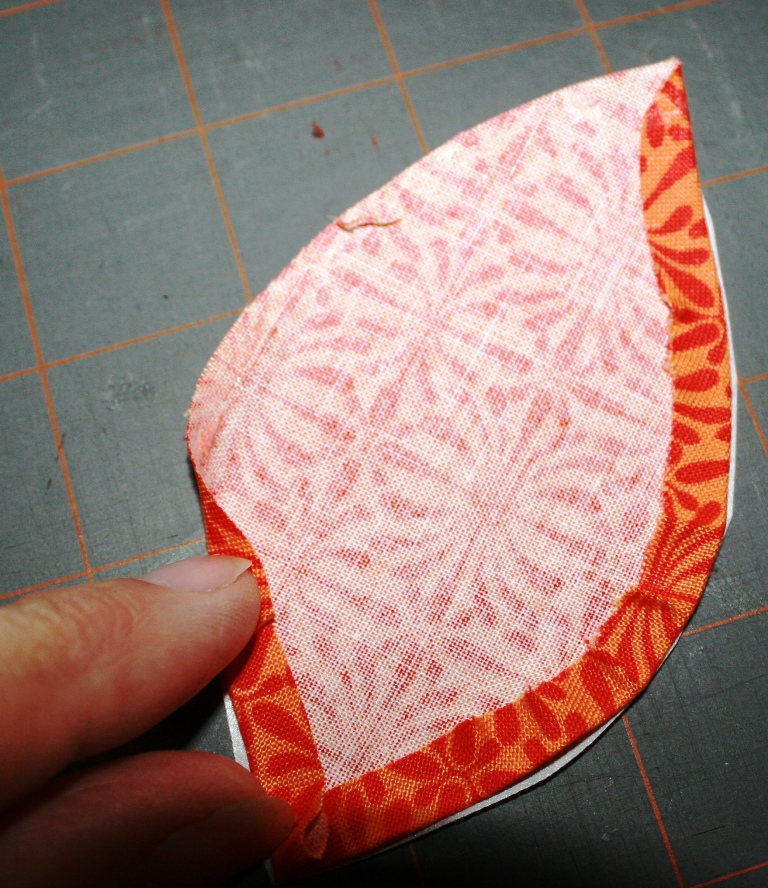
These table napkins have the hems turned under twice using a glue stick. The hems are pressed and they are ready to sew.
3.... to keep applique pieces in place before sewing them down. This eliminates pins getting in the way of your thread.

4.... to baste the quilt sandwich in place. This is easiest for small quilts and wall hangings. It also comes in handy if you run out of spray basting before you get to the end of the quilt!

5. ... to keep batting in place on the back when doing trapunto or any item you want padded.
A piece of batting larger than the area that was to be quilted was glued to the back. After quilting, the batting was trimmed right up to the edge of the quilting.

6.... to hold fabric in place for reverse applique.  


7. ...to hold trim in place to keep it from creeping out of place when you sew. (In the case of the picture below, the trim needed to drop down just above the 1/4" seam line so that the very narrow lace would show and the glue stick held it in place beautifully!)

8. ...to hold the beginning and ending of a section in place while you sew. 

9. ...hold a button in place so that it can be hand or machine sewn.

10. ...hold patches (such as those for scouting or military) in place so that you can sew them more easily.
11....hold hook and loop tape (such as Velcro brand) in place before sewing. Hook and loop tape that comes with an adhesive back will gum up your sewing machine needle very badly!

12....to hold the curled edge of a knit down smoothly for hemming.

13. ... to hold a zipper in place for easy sewing. No pins to sew over or remove. Just use glue in place of pins.
14. ... to match up stripes or plaids before sewing. (Use glue stick to hold the seam together in place.)

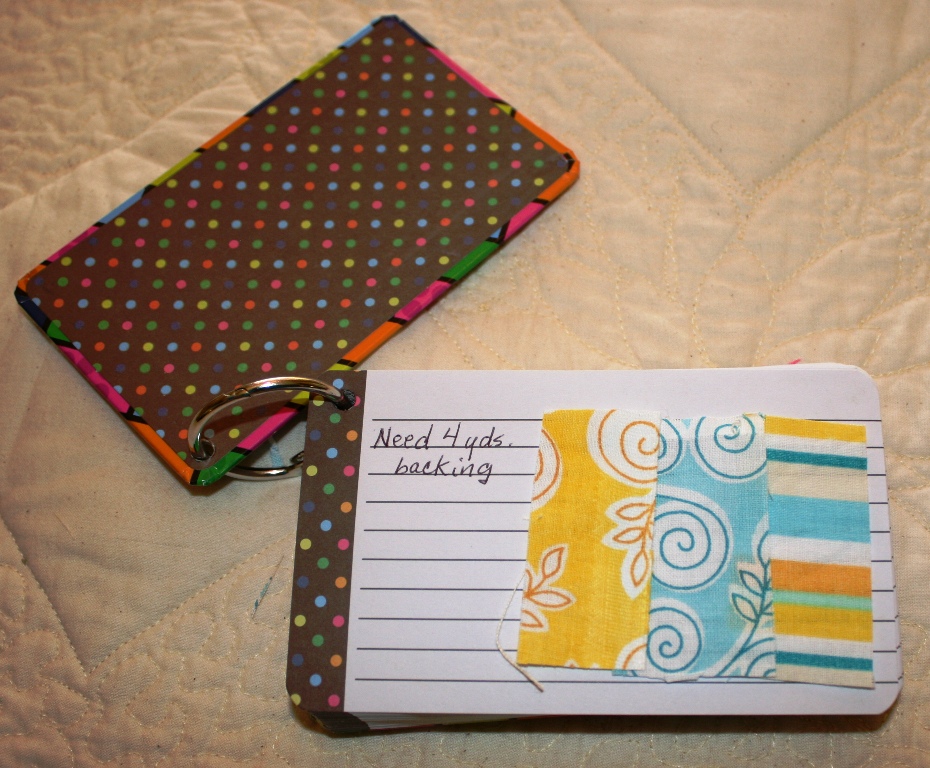
15. ...to hold tags and labels in place before sewing.
Rick-rack and both hearts were all glued together and glued in place before sewing the label on.
16....to hold applique pieces in the correct position on clear vinyl so you can "audition" different background fabrics. The tutorial is here.
17....to turn the raw edges in on handles you are making for tote bags.


I use school glue.....
18. ...to make perfect binding! There is a wonderful youTube tutorial by Sharon Schamber for making perfect binding for show quality quilts. Her secret tool? Elmer's School Glue and an iron! See it here.   
19. ...when I need a resist to make a design when dying fabric. You can see a tutorial here.

 I use fabric glue....
 20. ...to permanently attach beads, silk flowers, or other trim to projects. (Tooth fairy pillow tutorial found here.)

  Glue sticks are basically the same whether you pay $5 or 50cents. The more expensive glue sticks are a wonderful slim size that makes them easier to apply and less messy. It might be worth the extra cost to you! Since I wash my projects when finished, I don't worry about "acid free". The glue washes out of the fabric, except in the case of fabric glue.
Thank you, Mrs. Pickles, for putting together this Blog Hop. What a great idea! Sharing our secrets!!!
Now for a giveaway! (Giveway is now closed.)
Today’s lovely prize was donated by Chelsey Kilzer from The Fat Quarter Shop. One very lucky commenter will win one $25 gift certificate to be used online at The Fat Quarter Shop! The winner will be announced tomorrow!(You must comment for a chance to win.)
The Fat Quarter Shop was started by Kimberly Jolly in 2003.An avid quilter, Kimberly began her shop as a side business while still working a corporate position; cutting, packing and shipping right out of her house during evenings and weekends. From the very beginning, she was committed to top-notch service for every single order and customer. As the Fat Quarter Shop's reputation grew, Kimberly decided to make it a full-time operation. Her husband, Kevin, joined her not long after, and with his help, lots of hard work, and a tireless commitment, the store began to grow. Over the past few years a few more people have joined the staff!
They say, "As a team, we continue to branch out with the best fabrics, exclusive kits, quilt clubs, BOMs, and more. And we will always be driven by the passion that Kimberly founded the store upon, which is always giving you the best products and service!"


             The Fat Quarter Shop

Tomorrow you will be visiting Barbara.
Linda @ Buzzing and Bumbling  January 1st - you are here!
Sue @ Quilt Times  January 5th
 Until then.... 


post signature  

Friday, July 20, 2012

Back to School Tools for Sewing


The Back to School supplies are out in the stores! I absolutely love looking through them to see what's new each year. (Maybe this is a habit left over from my years of teaching school.) 
There were several choices of day planners out. I chose the one you see above because it had pretty colors and the months had tabs so I could find them easily. It is also small enough to fit in my purse. I paid $4.97 for it. Look at the pretty cover. It looked like fabric to me.
 Next up is this "slap ruler" for $1.97. You can give it a little slap and it will curl around your wrist. It comes in handy for quick measuring. I wouldn't use it with my rotary cutter, but it's nice for other things. Because it can be worn like a bracelet, it might be something you could take along to the store to measure design repeats, trim, and things like that.


This pencil case is a bargain for 47 cents! It has a little slide out "drawer" that can be snapped shut. It's the perfect size for......

..... your rotary cutter! And it's the perfect size to slip in your tote!

These ring bound index cards can be closed with the elastic band at the bottom. The label peels off to reveal a modern quilt design on the cover. It's perfect for carrying your fabric samples and information about your quilts in progress. $1.97

This nifty little clip board is very simple and is only $1.44.  Clipboards are great for holding instructions for your projects. 

 This wonderful little Ott Light (it's only about 2 1/4" x 3 1/4"). It has a clip on the back and opens up to reveal a LOT of light! It normally costs $19.99, but I had a half-off coupon. It fits in my purse perfectly. What a great deal for $10!

 This cute little "trinket tray" was in the $1 rack at Michael's. I usually put my empty spools beside the sewing machine so I can rewind them. This little owl is perfect for holding them and a few stray pins while I'm sewing. 
He was so cute, I just had to find a use for him! $1 is in my price range, too!
 Last on the list is this 3-D note board that uses dry erase markers. My husband and I keep a running shopping list and write notes to ourselves about things we need to do, etc. You can't really tell by the photo that this looks 3-D, but it does. This was in the school supply aisle for $6.50. 
Maybe your school supply aisle has a few tools you can use with your sewing. Look through them with a mindset of "what other uses could this have?" It's fun! You might find what will become your favorite sewing tool! 
Until next time......
post signature                                          

Tuesday, May 29, 2012

Finding the Right Background for Applique


 I do a lot of applique. The method I use, seen in this tutorial, allows me to turn under all my edges and layer my pieces before I even put them on the background to sew down. I can see exactly what I'm going to get! In this way, I can find the best possible arrangement and background. 
When I have a design with a lot of pieces, I don't want to take the time to arrange the entire design on each background candidate so I came up with this little trick.


I cut a square of clear vinyl (the type sold for table and furniture covering. It is fairly thick.). My square is about 20" x 24". Make it the size of the largest applique you might do. This is a reusable tool!
 Cover the edges of the vinyl by folding masking tape over the edge. This will be helpful because you don't want to spend time looking for the edges of the vinyl.
Now arrange your applique on the vinyl, sticking the pieces in place with a dab of glue stick (which can later be wiped off with a damp cloth) or pieces of rolled making or transparent tape. I used the glue stick. If you only have one piece, you don't have to do this. 


Now you can move your applique from background to background, and see which you like best! (Sorry about the sideways photo!)
You can easily roll the vinyl (with your applique stuck on) and take it to your quilt shop to "audition" backgrounds! 


By the way, I also use this vinyl to try out quilting designs. I use Dry-Erase Bright Crayons (by Crayola) to try out quilting designs. I can rub off the designs when finished.

Until next time.....
post signature 


Tuesday, March 27, 2012

Binding on Curves Without Cupping


binding on left is cupped, on right is flat
If you are not very experienced with sewing binding on curves or scallops, you may find that despite your efforts to sew perfect 1/4" seams, you can end up with a "cupped" scallop. There is a little trick to preventing this. 

First of all, you need a little tool. It doesn't have to be just like mine, but it does need to be something firm enough to hold down your binding and thin enough to slip under the presser foot if needed. I use a little wooden "spork" that I kept after getting a tasting sample in the grocery store. I also have one I made out of a craft stick. I suspect an old credit card with a notch cut in it might work, but I haven't tried that.
 Here is the tip. As you sew around the curve, use the tool to hold the seam line flat as you allow the outside of the binding to slightly ruffle. This puts some "ease" into your binding and will allow it to easily turn over the raw edges without cupping. (If you are VERY new to this, you will notice that the binding is folded in half and the raw edges are aligned with the raw edges of the quilt. Then when you turn it over the raw edge, you have a fold to sew down.)
That's all there is to it! Easy, unless you were never told to do this! I hope you find this helpful. Sometimes those of us who have more experience at these things forget to mention these little tricks. I have given away several quilts with cupped scallops. I tried ironing them into submission, but that only works temporarily. 
Happy quilting or sewing, and until next time......
post signature

Related Posts Plugin for WordPress, Blogger...