Buzzings from a quilter who bumbles her way through life!
Showing posts with label borders. Show all posts

Thursday, June 19, 2014

Oh Beautiful for Heroes Proved...


I've started a quilt top to put on a quilting frame at my sister's upcoming Independence Day picnic. This will be a huge event and she will have lots of activities for all ages. I suggested a quilt on a quilting frame that people can hand quilt.   I haven't appliqued the stars on yet and I am still embroidering a verse from "America, the Beautiful" around the border. (You might notice that I always line the area to be embroidered with batting. I like the definition it gives the embroidery and it keeps the threads from showing through. I baste the batting to the seams at the top and bottom to keep it in place!)This quilt will be donated to Quilts of Honor when finished and will go to a wounded veteran. If you are from the United States, you probably know the first verse to the song, but have you ever heard the third? 


"Oh beautiful for heroes proved in liberating strife.
Who more than self their country loved and
mercy more than life!
America! America! May God thy gold refine!
Till all success be nobleness 
And every gain divine!"
by Katherine Bates, 1913

I'll show you the entire quilt later when more finished, but I have a couple of tips that you may find helpful. 

First of all, I had to deal with stripes in my border. I decided to miter them for a more pleasant look and I wanted the stripes to meet up as much as I could arrange. These are not uniform stripes, so it was not possible to match them perfectly!


I turned the corner of the border back as shown and matched up the stripes as best I could.  Adjust the end of your border strip until you find the best match. Pin it in place and sew the border on from the previous seamline down.


If you have to piece your border strip to make miter both corners,  it is easier to piece the border somewhere else in the strip and make it look right than it will be at the corner, as you can see below. I "fudged" it a little and found a spot where the seam would be inconspicuous.


When you open and press your border, pin it in place at the corner. You can either turn it back and machine sew it here or sew it by hand (my choice!).  


Trim off the excess.

The other tip is concerning applique. I am appliqueing white stars over a dark blue! As you can see, the background would show through...


so I line the pieces with polyester fleece (the type that is not super stretchy)! It will not "ball up" in the wash. Use a glue stick to keep it in place while you applique. I like to catch the edges in my stitches in a few places to insure it will stay in place.

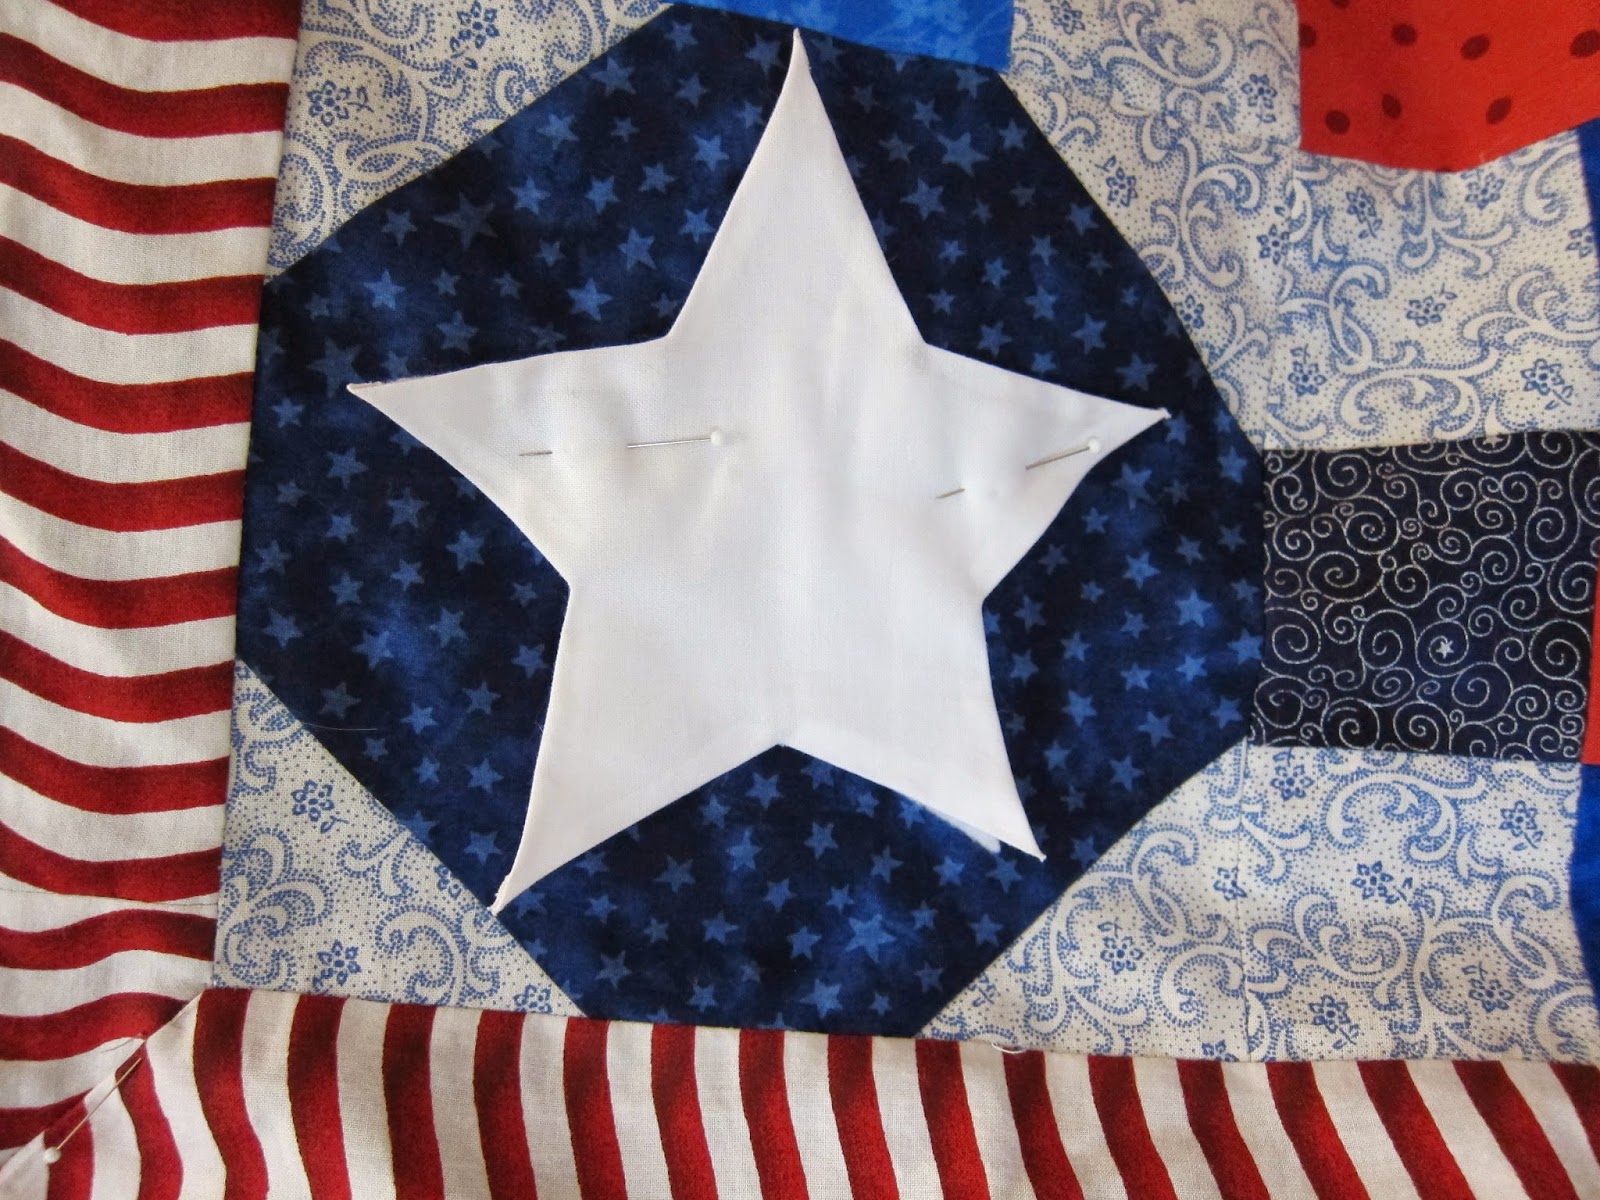
It will also give a little definition to the stars. I have been doing this for years now and haven't had any problems with it.
Have a wonderful weekend!


Friday, June 13, 2014

Adding a Scalloped Border to an Existing Border


My last post was about my picnic and my picnic quilt. I thought you might enjoy knowing a little trick about a way to "salvage" a border you don't like. In the quilt above, I just didn't like the finished look! I was really in a pickle trying to get this made between spending time with my dad, who was in the hospital, and trips to Kerrville. I decided I should have added scallops to the borders for an extra pop of color and interest. So.....being into applique more than piecing and not wanting to rip out seams, I decided to applique a scalloped border on top.

First, I cut a strip of freezer paper the width of the scallops I wanted. Since it can be ironed and and peeled off to reuse, I just cut a strip half the length of each side. I accordian-folded it and cut my scallops, then ironed it onto the RIGHT side of the fabric. Remember, shiny side DOWN. You don't want the iron to touch that side.) I cut along the edge leaving a 1/4" seam allowance.

I ran a glue stick along the wrong side of the seam allowance at both scalloped edge and straight edge and pinched it back, where the glue held it in place. At this point, I peeled off the paper and repositioned it at the other half of the strip. (Remember, my freezer paper strip was only half the length of my fabric strip, not because it has to be but because it would take a LOT of paper). I then pressed it with an iron.


I pinned it in position and appliqued it on by hand. You could choose to sew it on by machine, if you wish. 
I've actually changed my mind on several quilts and used the applique method to change something that I decided I didn't like. You can applique squares over squares, for example, if you decide you either made a mistake or don't like the placement.
Just have fun with it! No quilt is beyond repair!
Related Posts Plugin for WordPress, Blogger...