Buzzings from a quilter who bumbles her way through life!
Showing posts with label recycling. Show all posts

Friday, July 18, 2014

Saving a $4 Chair! Part 1


Did I show you this chair? I bought it at the thrift shop a couple of months ago. It was $4.00!!! The springs were missing from the seat, but it seemed to be in fairly good condition.


I began the process of stripping off the old upholstery. It was tacked on, not stapled. Removing about 2 million tacks (only a slight exaggeration!) took about 2 hours with my sister helping me. We didn't have the tools we needed to do this easily. 


Half way finished! I failed to get a picture of the horsehair and cotton that I found inside. It was so deteriorated and nasty, I threw it away. I know that sometimes upholsterers save it. I decided that I didn't want all those old dead skin cells and animal dander!
After removing all the old fabric and stuffing, I glued up any loose joints with wood glue and left them clamped to dry for several hours.
I screwed "clips" down to hold the No Sag or Sinuous Springs. My sister, Darla, is working on a beautiful  antique set at the same time. We  shared tools and helped each other out while we tried to figure it all out!
Unfortunately, the battery operated screwdriver ran out of power and we had to plug it in for a few hours to recharge. 
I decided to "clean up" the finish a little. I wanted to keep the old patina, but make the scratches less noticeable. I used denatured alcohol and a soft rag. This "melts" the old finish enough to redistribute it some. This will not work on polyurethane and modern finishes. It only works on lacquer based varnishes.

   
Before and after of the same leg.


By this time, the heat and humidity were beginning to take a toll on us, so we quit for the day. When I post about the chair again, probably next week, I will be installing the springs and putting webbing on the chair back. 


Friday, March 7, 2014

Buying Fabric at the Thrift Shop! (with an important update!)

I love looking through thrift shops. I usually am drawn to the dishes, books, or furniture, but I recently picked up some wool that I will later "felt" and use in wool applique. (I love to recycle when I can!)

If you see the symbol above, you  know you have 100% wool. You want to find wool that is at least 80% wool. Several readers have told me that 70% wool/30% nylon works also and has a softer feel after felting. I also learned that if it says Worsted Wool, as in the label below, it may not felt at all! I did test a little piece and the rough handling made it shrink and felt some, but the worsting process is supposed to prevent that!
You will need to prepare the wool by cutting all seams apart so that it will draw up evening when you wash it.
 Also cut the waistbands off and remove linings, hem tape, zippers, and buttons.
I paid less than $30 for 8 large skirts and got two nice sized stacks of wool after cutting them apart. I can hand dye them to get colors I need, but I did try to find as many different colors as possible. A later trip yielded a bright yellow and a bright red sweater to use. (Yes, you can even felt knitted garments!) I can use them for wool applique, pin cushions, and many other pretty things.
Be sure to save the buttons! Have you seen the price of buttons in the store?

To felt the wool, the easiest way is use your washing machine There are many factors that will make a difference in how much your wool felts and shrinks. They include how hot the water is, the hardness of your water,  the dye used in your wool, the soap or detergent, and the amount of agitation the piece gets. You may have accidentally felted a wool sweater in the past! If you did, you know it wasn't hard to do. The wool will shrink sometimes to half it's size, so watch closely so that you can pull it out when the wool is just the way you want it. Rinse it in cool water so that the "scales" on the fibers lock together. You can put it in the dryer, but check first to be sure it is squared up.
Another method is to boil the wool on your stove. I am going to have to purchase a cheap enameled pot large enough for this. I will use it only for my wool, as my chemist husband informed me that dyes are chemicals that can be poisonous and you don't want to cook food in the same pot. I'll be sure and show you what I make from my wool!


                                                        House update: We have hired someone taking up the stone tile for us! We gave up on getting it out by ourselves. UGH! Sometimes it pays to just have something done! I'll show a picture when it's up. We will have to do some work in the kitchen before the new flooring is installed.
View from my bedroom balcony. It's beginning to look like spring in the Texas hill country!


Monday, January 30, 2012

Using Those Scraps!


Back in the summer, I won these trimmings from Kate Spain and the line she had coming out at the time. I put them aside, ready to use them in my applique and piecing. They are strips between an inch wide all the way to about 6inches wide, and not enough of any one color to do standard blocks. I decided to start some scrappy blocks using the same method I use for piecing the backs of my quilts, only small enough for blocks.
 I started out by cutting a wide piece about 9" long (you can use any size you want) and evened up the sides. I also cut a couple of pieces from the narrow strips.

I cut one strip down the center and sewed it to each side of the other strip. Then I cut the larger block in half lengthwise, making the cut at the side and not the center.

I sewed the strip between the two sections of the block.


You can either stop here, or cut the block into two more sections by cutting widthwise and inserting another strip like the first. There is no reason your blocks all have to be the same, but try to carry one color over into each block to tie them all together.

Here are a few of the blocks I've made from my little treasure pile of scraps. Notice that some are very simple and others have more piecing. If a block is not quite large enough, simply add more strips either on the edge of in the middle of the block. It couldn't be more simple. Trim all the blocks the same size or have some large and some small. Mine are all 6" x 9". You can see by the arrangement that I will be able to add little "pops" of color in the areas where the blocks don't come together. 
This seems to be a year that many of us have chosen to use up as many of our scraps as we can. What a wonderful challenge! I'm going to see if I can turn these into something useful as well as beautiful!
                                                                           post signature


Monday, October 10, 2011

Insulated Gift Bag or Sandwich Bag Tutorial


 Do you need a cute little gift idea for a friend? How about a sweet way to present a sweet gift like cookies or candy? This little bag can be reused as a sandwich bag when the gift is long gone. AND....it's a good way to use up scraps!


1. You need some type of insulation for your bag. You can buy an insulated batting, but I chose to use a mylar chip bag. If they can keep chips fresh, they should work for other foods!
2. Here you see the shiny side. This will be your RIGHT side. Clean off your bag well with a damp paper towel to clean off any residual oil or chips!
3. Cut 2 rectangles for the outside of your bag (mine are 7 1/2" x 8"), 2 rectangles of the Mylar and the batting (also 7 1/2" x 8" ), and 2 flaps (7 1/2" x 4").
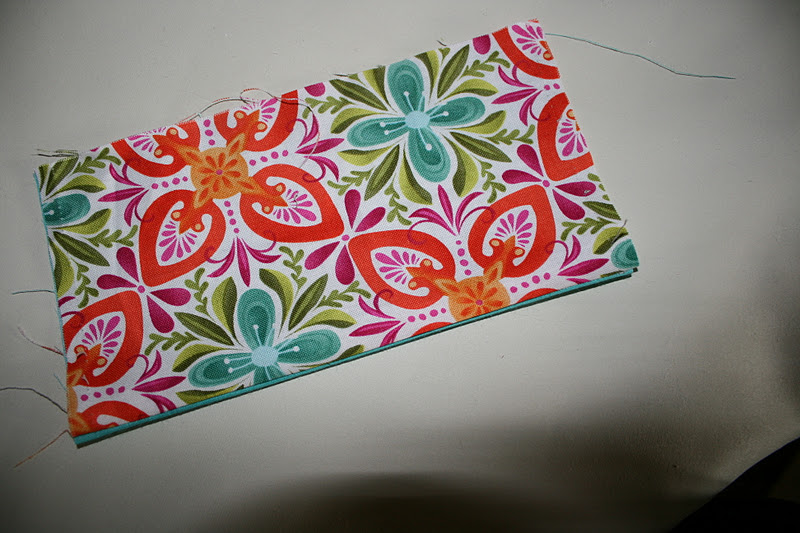
4. Put the flap pieces right sides together and sew across one long end. (You can see where I had to "unsew" the two side pieces. Oops!)

5. Turn right sides out and press.

6. Place the flap at the top of one of the outer bag rectangles, on the right side, and place the other rectangle right side down on top of it. Sew the sides and the bottom, leaving a 2" opening in the bottom that you will later turn the piece through. Do not turn right side out.
7. Put the batting pieces on top of the Mylar pieces and leave the shiny side as your right side. I used a little spray basting to hold the batting on while I sewed. You might also try a glue stick to help it stay in place. Place the shiny sides together and sew the sides and bottom. Do not leave an opening in the bottom. Do not turn.
8. Place the outer bag inside the lining, putting the right side against the shiny side. Pin in place around the top.
9. Sew around the top edge, all the way around.

10. Put the outer bag out and turn over the lining through the opening in the bottom.
11. Sew the opening in the bottom closed by hand.
12. To close the bag, simply pull the flap from one side of the open bag over the top. It will close just like an old style plastic sandwich bag. 
 You can make these any size you want, actually. They don't have to be a sandwich size. How about large enough to hold a loaf of homemade bread? Or maybe just cupcake size? Maybe just the right size for a gingerbread cookie! You can use holiday fabrics for the holidays if you want. You don't have to insulate them, by the way, you can just use two fabrics and make little lined gift bags that can hold little gifts. Have fun! By the way, I added the flower and leaf in the first photo as a gift tag. You know how I love adding flowers and ribbons!


Update on my shingles:  Thank you SO MUCH to everyone who left such sweet comments and sent such uplifting emails! It's so nice to have friends out there! My rash is better, although the burning pain is still there. I still have a little recovering to do, but hopefully, I will be over this soon! My heart goes out to those of you who have painful diseases that you live with every day of your lives! I don't know how you do it! I know of several of you out there who do just that! My prayers are with you!


post signature 


Thursday, July 7, 2011

Upcycled Jeans Bag Tutorial


 This handy little upcycled bag is made from the leg of a pair of jeans. It can be as fancy or as plain as you want to make it. It has two compartments,a pocket on the inside and pockets on both sides of the outside, and a handy little space for a book, magazine,  newspaper or even umbrella. One compartment is open and the other is covered by a flap. You could add a closure of some sort - zipper, button, magnetic catch, etc. - if you wanted.

I'll show you exactly how I made this one, but remember that you can leave off pockets, change the flap, and of course, change colors. 

This all started when I "whipped up" a simple little bag out of a leftover leg from a pair of jeans that I was cutting up. 
Below is the original bag. I had so many comments on it, I decided you might want to know how it was done!


1. Fold up the leg of an old pair of jeans to find the approximate size of the finished bag. Cut above the folded up hem. Cut a lining the same size by placing the edge of the jeans leg along the fold of a piece of fabric and cutting around the other three edges leaving a seam allowance. (not shown) If your piece has a worn spot, plan to have it end up on the middle compartment of the bag or under a pocket.

2. Cut a flap from both lining and jeans fabric. You can make this any shape you want. The original had a rounded flap.

3. With right sides together, sew the flap around the outer three edges.
4. Turn, press, and topstitch the flap. Set aside.
5. Right sides together, sew the long edge of the lining together. Unless your jeans had straight legs, one end will be a little wider than the other. Hem the wider end of the lining 1/4".

6. Cut off the two back pockets, cutting through the fabric that it is sewn to. Leave a seam allowance at the top of the pocket. (You will have an intact pocket.) Cut just under the edge of the pocket.  If you want three pockets, you will either need to use another pair of jeans, or just construct a simple pocket to use on the inside instead of the presewn one.

7. Cut a 1 1/2" strip of the lining fabric and sew, right sides together, to the seam allowance at the top of the pocket.  Turn each edge in to give a clean folded edge. (This pocket trim is absolutely optional, but gives a nice finish to the pocket and an added bit of color to the bag.) Do this with all three of the pockets.
8. For an inside pocket, pin the pocket, right sides together, to the outside of the bag in the position you want it. It has the lining trim sewn to the top. That is what I am actually pinning to the bag.
9. Without turning lining inside out, slip it over the bag. (Be sure you have the hemmed edge at the bottom. Pin to the top, pinning over the pocket. Slip the flap in between the lining and bag on the opposite side, placing the lining side of the flap against the bag and the denim side against the lining (unless you prefer the denim side to show, in which case you would reverse this.) Sew a 1/4" seam around the top to attach the lining to the bag. (If, like me, you have had to rip out and resew your lining to the bag, you may have stretched your denim. In this case, just make a couple of small pleats at equidistant points on one side and call it a design statement!)

10. Turn inside out and tuck the lining inside the bag. Press. It should hang out at the bottom about 3/4". 
11. Turn the lining over the edge of the bag and sew it down all the way around.

12. Fold the bag in half (I have pinned on the pocket to see where I want it and to be sure it will fit.) Mark the center with pins. Sew through ALL layers straight across the center. This will divide your purse into two sections.
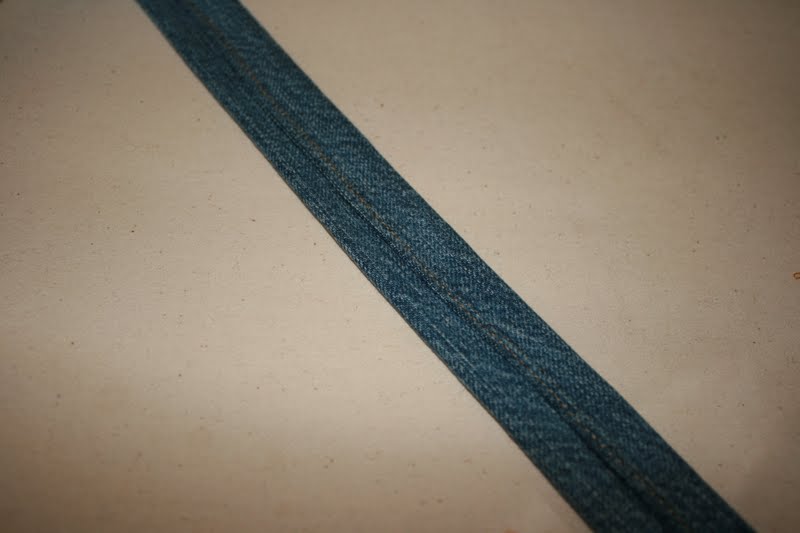
13. Cut a strap of denim. Make this a size comfortable for you. I am short. I have cut mine 3" wide and 24" long. (If you are taller than 5'2", you may want it a little longer than this!) Turn one long side in 1/4" and sew down.
14. Fold the raw edge in to just past the center. Fold the hemmed edge over to the center and sew down.
15. Insert the ends of the strap at the top of the bag between the two sections. Sew through all layers to secure. (This may be difficult on some machines. You may have to sew through on side only and then sew the sections together by hand at the edges. Close off the center section from the top by hand sewing the two sides together. (You don't want this open or you might accidentally drop your keys through it and they can fall to the ground without you knowing it!)
16. To add silk flowers, take the plastic stem and base off the flowers. Sew through all layers of the flower by hand, as on the extreme right. Then glue the plastic center back on using a thick craft glue. (You may need to cut any protrusions off flush so that it will glue well.) You could use buttons here in place of the plastic center. You could also leave off the flowers or use something different!
17. Turn the lining at the top of the pockets to the back, leaving about 1/4" of it showing. Sew the pockets to the front and back of the bag by hand. (It is very difficult to get it under the foot of the machine. If you are going to try, try it before sewing the lining on!)

That's it! I showed a lot of steps, but it is really a very simple project! You're basically lining the leg of the jeans, sewing across the middle, and adding a strap. The pockets, flap, and flowers are all just embellishment (well, the pockets are pretty functional - a great place for a cell phone or car keys!). I hope you'll give it a try! (And....I would love to see a picture of how yours turns out!)
      
post signature

Related Posts Plugin for WordPress, Blogger...