Buzzings from a quilter who bumbles her way through life!

Monday, June 4, 2012

Making Squares From Stripes!


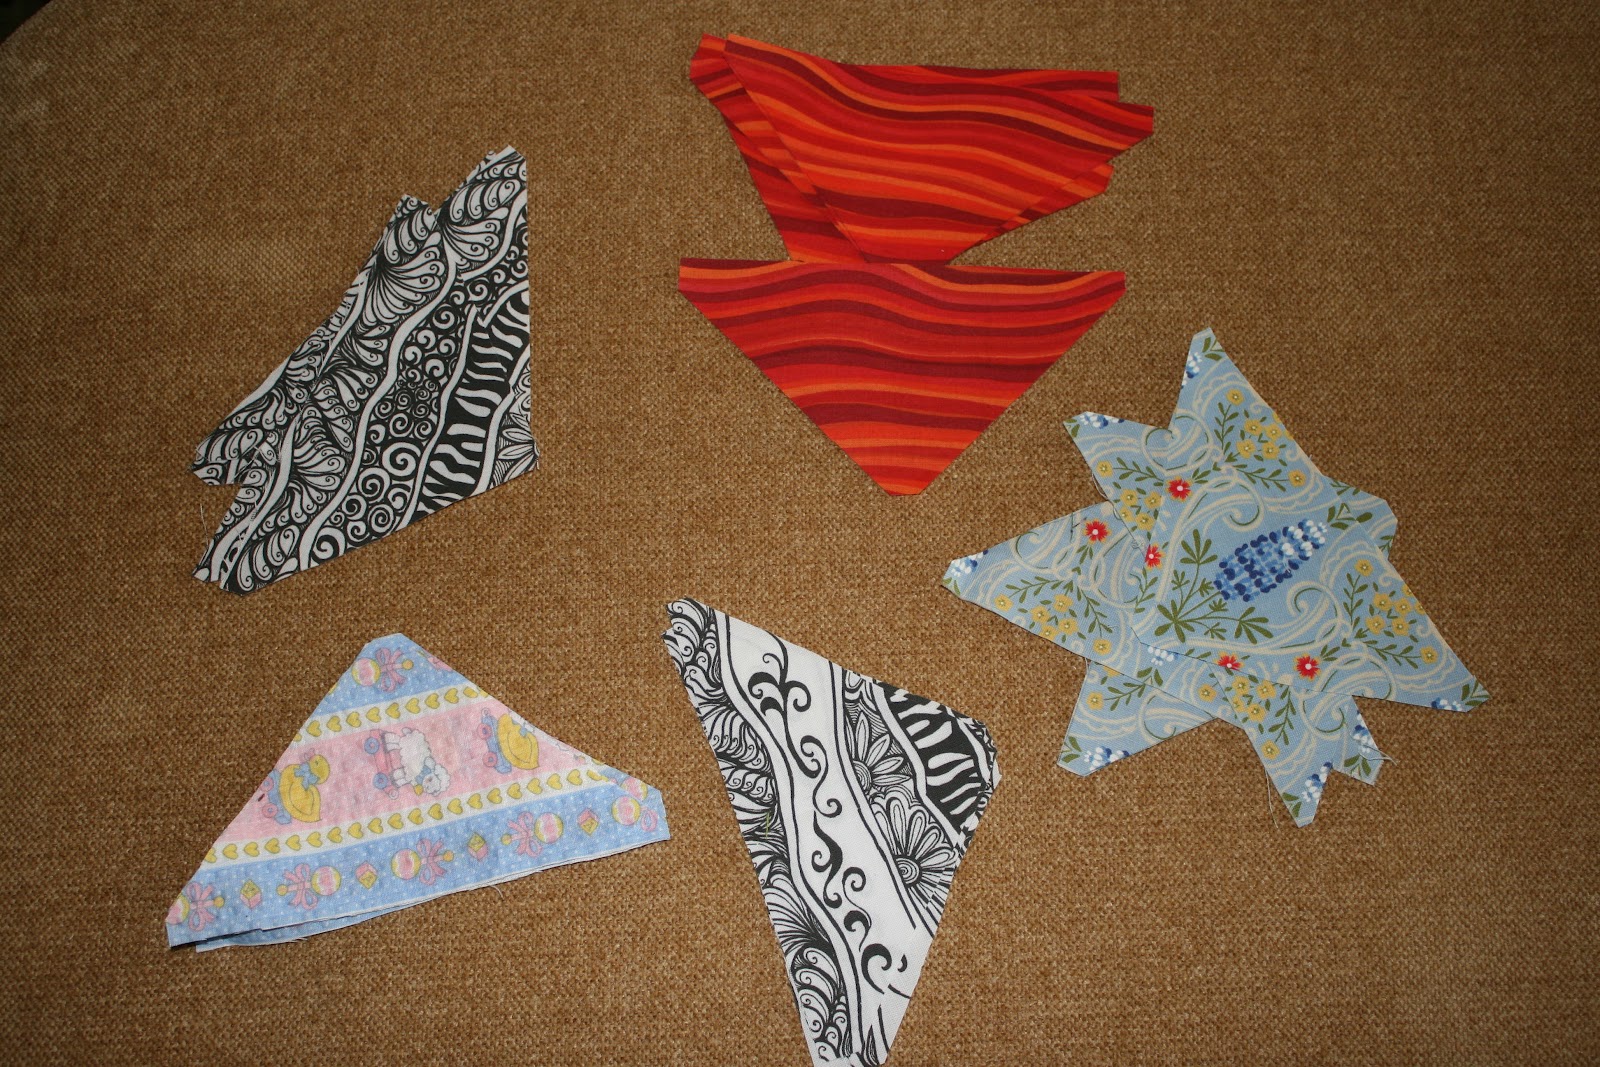
 Stripes or designs with an even repeat can give you a chance to create some really fun effects. This is a good technique to use if you are limited to only one or two fabrics, or you just want to do something fun with your fabrics! In the photo above, I've used my sister's fabric called "Riding the Waves" (available on Spoonflower here) to create these fun, informal squares to use in what will become my latest quilt. The blocks have a different look depending on where I cut. Many of you have tried this - it's not a new idea - but perhaps you've forgotten how useful this little trick can be! It's like pulling in a new fabric with the same colors and design elements. You could make an entire quilt with only one fabric using this method.
 To begin, you will cut 4 triangles for each square after stacking your fabric in 4 layers. (You will have to figure out the size you need on your own! Of course, each triangle should be 1/2" larger on the two sides you will sew to allow for your seam allowance.)You want each triangle to be exactly alike or in the case of the very informal stripes, make the top of the triangle at the same place on each. I stack the fabric by finding a prominent design element (a flower, a swirl, etc.) and placing that element over the one below it. You will not want your fabric folded in half to do this unless you have an even stripe.  In other words, you want your fabrics to be lined up with the designs all exactly over each other. This is a method used in Kaleidoscope type blocks.
Sew triangles together by first sewing two pieces together and then pressing the seams open. (YES, I do! I find I have less bulk this way.)

 Then sew each half together and again press the seams open. The squares above are the results of these fabrics:
You can add triangles to the sides of these squares to make them bigger and frame them. Can you see the possibilities? This is one of those old tried and true techniques that makes piecing a quilt together fun.

 Try this with some of your fabrics to see what you get! It can be surprising and almost magical! Remember that you will be dealing with some bias edges, so starching your fabric can be helpful in keeping those edges from stretching.

Design in progress.
I searched through all my quilts to find one showing where I had used this technique and it turns out they were all in quilts I gave to grandchildren. The pictures above are of my design wall. I'm working on a design using "Where the Green Fern Grows" (available here). I'm sure I will change it many times before I settle on a final design, but I plan on using the playful blocks made from Riding the Waves. (It will also be used in a border.) My final design will probably look nothing like the above, but it gives you a chance to see how you might use them.
Until next time......


post signature 


8 comments:

  1. Beautiful, bright design, Linda. Thanks for the how-to-sew stripes into squares to make these blocks. I love the fabrics, too ... :) Pat

    ReplyDelete
  2. AWESOME - these look amazing, thank you Linda!

    ReplyDelete
  3. very nice Linda and i love the effect.xx

    ReplyDelete
  4. I love the orange stripe block. I know that I have some "funky" stripes that would work great with this idea.

    ReplyDelete
  5. Beautiful Linda! Using fabric with wavy lines gives such a different look!

    ReplyDelete
  6. You've given me another way to look at some of my fabrics. Thanks for another great tutorial.

    ReplyDelete
  7. Hi Linda, I pinned your tutorial to Pinterest, LOVE how you made the squares using stripe fabric. Thanks for sharing.

    Sue in CA / fabricfondler at Pinterest

    ReplyDelete

You can leave your comment here! (I'm so sorry, but if you are an Anonymous commenter, your comment will not publish. This is because of the huge amounts of spam that I have received from anonymous sources.)

Related Posts Plugin for WordPress, Blogger...