Buzzings from a quilter who bumbles her way through life!

Wednesday, October 17, 2012

Fall Inspiration and a New Quilt Project


I'm very often inspired by the colors in nature. I don't think we can improve on what God puts together for us to enjoy!
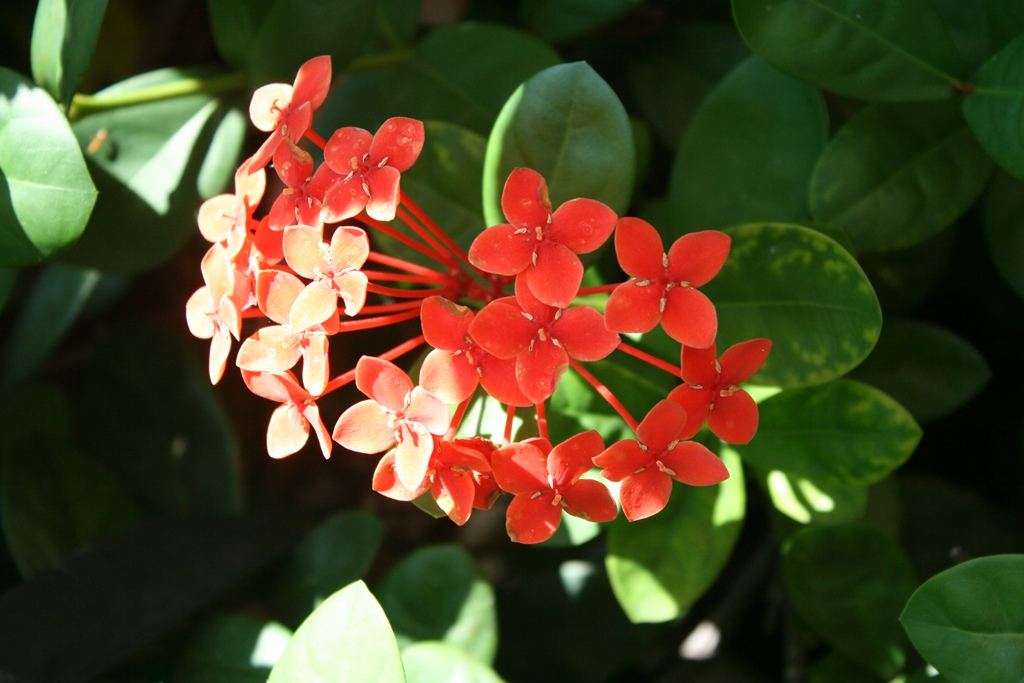
 I have a lot of zinnias in my flower beds that are in different stages of growth. Some have just come up from seed and some are dying back. The dead ones are gray. The fresh blooms are red-orange (my favorite color!)
I went out this morning to take some photos and this little butterfly landed on the very flower I was about to photograph. Just as I snapped the picture, he opened his wings, as if on cue! 
I happen to be working on some squares that are in red-orange and shades of gray. These are only squares at this point and can be laid out to form a zig-zag.

I am using scraps of different grays  for the small squares. I no longer have a design wall, so I've had to lay these out on the floor to look. 
I have in mind that this might be a good quilt for one of my sons. (Okay, J, B or D! If you ever read my blog this is a chance for you to put your two cents worth in! Is this masculine enough for you?)
Here are some other red-orange and orange flowers in my fall garden:
Chrysanthemums
Ixora
Orange Bougainvillea
Lantana
We don't have beautiful fall leaves here in South Texas, but the flowers are beautiful!

post signature

Monday, October 15, 2012

Winner of My Giveaway!


I used Random.org to choose my winner from the Leafs Me Happy Blog Hop.  I'm happy to announce that the winner is #27, Jeanie of Gracie Oliver Arts, who wrote: 
"And I'm a new follower."
post signatureCongratulations! 
I wish every one of you could have won!  Jeanie has been contacted by email and will receive her panel as soon as I get her mailing information.


Thursday, October 11, 2012

Tutorial for the Don't Leaf Me Alone block

I promised you a tutorial for my "Don't Leaf Me Alone" block.
My block, shown above, is a simple leaf using lots of small scraps! I thought it up one night when I couldn't sleep and to my amazement, it worked with very little tweaking. I love it when that happens! It is a combination of paper piecing and freezer paper applique, and although I appliqued by hand, you can use your machine to sew it down if you wish. Don't be scared away.....it REALLY is simple, despite the number of steps I've shown. I just wanted to be sure you knew EXACTLY what to do!
1. Fold one sheet of 8 1/2" x 11" paper with a piece of freezer paper. On the fold, draw concentric lines as shown above.

2. Cut on the lines with the paper still folded. When you open it up, you should have shapes similar to the ones above. You will need to repeat this for each leaf you make.


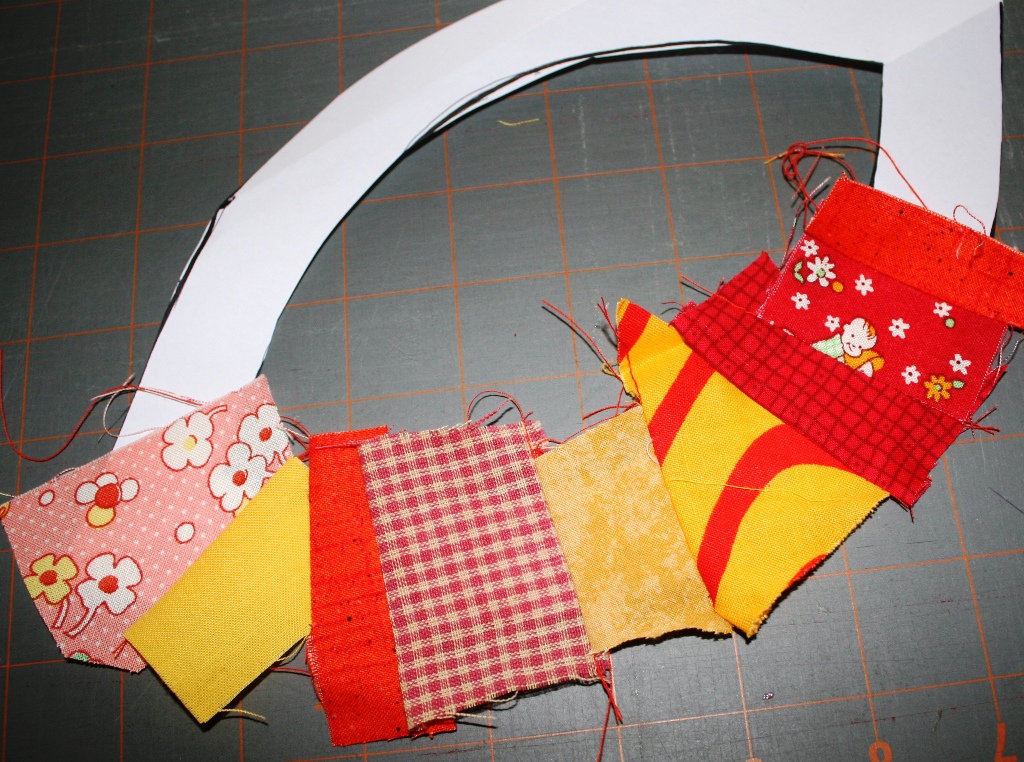
3. Lay a scrap right side up on one point of the bigger plain paper shape. The freezer paper will be used later.
4. Lay another scrap right sides TOGETHER at the edge of the first scrap.
5. Sew 1/4" through all layers including paper at the edge of the two pieces.
6. Turn and press.


7. Continue all the way around to the top. Be sure your pieces overhang each side of the paper by at least 1/4". Starting back at the bottom point, do the exact same thing going up the other side.
8. When you get to the point at the top, clip through the paper so you can sew the two fabrics together. (You can see I just used scrap paper for this!)
9. Put the two fabrics at the top right sides together and sew a seam just where the paper comes together. (You can feel where the stiff paper is and that will help you judge where to sew.)
10. Trim the fabric that overhangs the outside of the shape to about 1/4". (top photo) You will later turn this under, so be sure you have enough to easily turn. Iron the freezer paper shape (the one that matches) to the FRONT. (lower photo)
11. Carefully pull the paper off the back. (I did trim these seams at this point, but that would have been easier to do as I sewed. Live and Learn!)
12. Use a glue stick to turn the seam allowance around the outer edge to the wrong side. Press. Leave the seam allowance in the center as is.
13. After pressing, pull off the freezer paper.
14. Repeat the above steps for the second leaf shape. After turning the edges, use the glue stick to position it in the center of the larger leaf shape. You will applique this down either by hand or machine.
Add caption

15. For the last shape, you will not be piecing. Iron the freezer paper to the FRONT of the fabric you have chosen. Trim around the edge 1/4". Run a line of the glue stick on the WRONG side of the seam allowance and turn the seam to the back. Press. 
16. Use the glue stick to position this shape to the center of your leaf. You are now ready to applique it down.
17. From freezer paper, but a branch and vein design similar to the one above. Use the same method of ironing, trimming, gluing the seam allowance to the back, pressing as in step 15.
 18. Use the glue stick to position the veins where you want them. Applique the entire piece to your block. 

That's all there is to it! I think this could be really pretty as blocks in a larger quilt. 
Remember to check back on Monday to see who won the giveaway! 
Until next time.....
post signature

Monday, October 8, 2012

"Leafs Me Happy" - My Day! (and Giveaway)


Today is my day on the Leafs Me Happy Blog Hop. My first square is 12 1/2" and is made up of small scraps. I call it "Don't Leaf Me Alone!". I'll post a tutorial on Thursday, October 11, showing how to make it. It's easy!
Another scrappy block was a result of piecing scraps and putting it behind a cutout for reverse applique.
 This one is called "Re-Leaf at Last!" ( I know, the names are corny, but so many of the good ones have already been taken!) I took a leaf off a tree in the backyard and just used it as a pattern. This block is 10 1/2" square.

 The basket block is 12 1/2" and was made using fabrics from my stash in what I consider fall colors - golds, browns, oranges, reds. The triangles remind me of fall leaves set in among fall mums and zinnias.

 This 10 1/2" square was made using the very small "Twister" templates. The fabrics had fall leaves, although after cutting you can't really see the leaves in the design. Of course, when you look at a fall landscape, you don't see individual leaves in the distance - just the colors. To me, the colors of fall are just "Unbe-LEAF-able"!
 Now for the giveaway! Just leave a comment for one chance to win. For a second chance, follow  on my sidebar. I sure would like to get my number closer to 600 than it is now! (If you already follow, just let me know.)That's two comments for two chances! The winner will be chosen by the random number generator and will be announced next Monday. What do you win? Oh.........how about this:
 It's a Chickadee panel (23 1/2" x 43 1/2") by Julie Paschkis for In the Beginning Fabrics (2012). It pictures a tree with squirrels, birds of many types, a butterfly, and of course, ...... Leaves! I'm wishing I had bought 2 of these so I could have one for myself! (I may have to go back to the store.)

                     Here are our other blogs for today! And our thanks go to Madame Samm and our cheerleader Cherry! You can find a full listing of the schedule on Cherry's blog. Be sure you check out each of these blogs today. You won't be sorry!

Monday 8

Thursday, October 4, 2012

What Inspires You?


From the Dick and Jane book I read in First Grade.

My idea of what the world experienced as "autumn" or "fall" was from the books I read as a child. I grew up in San Antonio, Texas. We don't have colorful falls here. We have gorgeous springs in years with good rains and you wouldn't believe the waves of color from wildflowers you see then in fields and roadsides. Our autumns are not spectacular.
I often saw these glorious colorful scenes and wondered what it would be like to actually experience them. Then when I was grown and married, we lived where the falls were beautiful! Still, my ideas of "fall colors" have been shaped by books. 
Here are a few autumn color schemes I matched up from books I have on my shelves. The fabrics were in my stash.
Anno's Counting Book by Mitsumasa Anno
The Little House by Virginia Lee Burton

Ox-Cart Man by Donald Hall
From A Year of Birds by Ashley Wolff


We Look and See, by Scott, Foresman and Company
Madeline's Rescue by Ludwig Bemelmans
From Caps for Sale by Esphyr Slobodkina

Where do you get most of YOUR inspiration? (You don't really have to answer that, but it is something to think about!)
I'll see you on October 8th -my day to show my Leafs Me Happy blocks!
Until then.....
post signature 

Monday, October 1, 2012

Leafs Me Happy Blog Hop Starts Today!

 We don't see the "turning of the leaves" here in South Texas. The pictures here are some I took when we lived on the east coast.  I'll have to admit how much I miss these sights, so an opportunity to "revisit" them was welcome!Do these inspire you at all? Well, even if they don't, you will be inspired when you see all the blocks we are going to show you in the next couple of weeks!

 The Leafs Me Happy Blog Hop starts today! (I will be posting on October 8, so be sure and join me then!) Our Hop Leaders are Cherry of Cherry Blossoms and Mdm. Samm of Sew We Quilt.
Here is a sneak peak of my project. You can't tell much at all, but there was no way to show you more without giving it away. So be sure and come back to see what I show!

             Here is the schedule for the next two weeks:

                           Master Schedule
October 1-10, 2012

Monday 1
Tuesday 2
Wednesday 3
Thursday 4
Friday 5
Monday 8
Tuesday 9
Wednesday 10
post signature


Related Posts Plugin for WordPress, Blogger...