
There are so many ways to do that, when I started naming them, she asked if I would just give a short program on it. I thought maybe some of my readers might want to know some of these tricks, too. None of these are new. Some were used in quilts during the Depression!
The bird appliqued above is on a Hansel and Gretel quilt that I made a few years ago. The fabric used for wings, body and head are all different, but chosen to give the correct color and texture for this bird. Embroidery stitches are added to the throat, breast and tail. Embroidery, either machine or hand done, is the first method you might think of for giving color and texture to a quilt. Hollis Chatelaine (a quilt artist in North Carolina) does gorgeous work using different colored threads to color the figures in her quilts.
As mentioned above, fabric can also be chosen to add just the right texture and color. I collect fat quarters in different patterns that suggest texture to me. Here is a quick sampling of just a very few out of my "texture" box.


You wouldn't consider the items in the picture above to be quilting tools, but they can be! If the detail you want is too small to applique, or you need something more IN your applique, remember these.


Here I've used fabric dye for the yellow and acrylic paint for the black. Either of these can be used. ( The link above for using Paintstiks also deals with acrylic paint.)


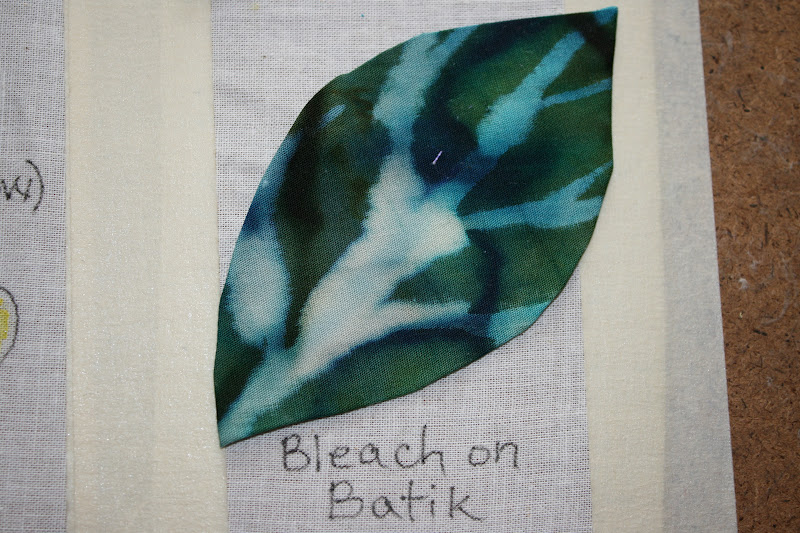
Regular household bleach can be brushed on but always test this first. Some fabrics bleach out to unexpected colors and some do not bleach out at all. The bleach is difficult to control, so don't use this where you need precise fine lines. Wash the bleach out well when finished! You might be interested in seeing a tutorial and more ideas for using this technique here .
One more idea is the use of beads. You must add them AFTER you quilt because you don't want to hit a bead with your needle.

I'm sure there are methods I have failed to mention, but these are all tried and true. The next time you need a little touch of color or a little detail, see if one of these will help you out.
Until next time......

Great information Linda...thank you
ReplyDeleteThanks for the excellent guide. As a new quilter, I really appreciate your sharing these techniques.
ReplyDeleteThanks you Linda for sharing some of your fabulous tips.
ReplyDeleteLove the stippling on the leaves with a pen... never thought of THAT! Will use that tip for sure!
ReplyDeleteThanks (as usual)... :)
Thank you for sharing these techniques It's always great to have some extra ideas to add.
ReplyDeleteGreat tools! I've used/have all of them other than the bleach and beads. The stippling on the leaves is really neat, thanks for sharing!
ReplyDelete