
Do you need a cute little gift idea for a friend? How about a sweet way to present a sweet gift like cookies or candy? This little bag can be reused as a sandwich bag when the gift is long gone. AND....it's a good way to use up scraps!
 |
| 1. You need some type of insulation for your bag. You can buy an insulated batting, but I chose to use a mylar chip bag. If they can keep chips fresh, they should work for other foods! |
 |
| 2. Here you see the shiny side. This will be your RIGHT side. Clean off your bag well with a damp paper towel to clean off any residual oil or chips! |
 | |
| 3. Cut 2 rectangles for the outside of your bag (mine are 7 1/2" x 8"), 2 rectangles of the Mylar and the batting (also 7 1/2" x 8" ), and 2 flaps (7 1/2" x 4"). |
 | |
| 4. Put the flap pieces right sides together and sew across one long end. (You can see where I had to "unsew" the two side pieces. Oops!) |
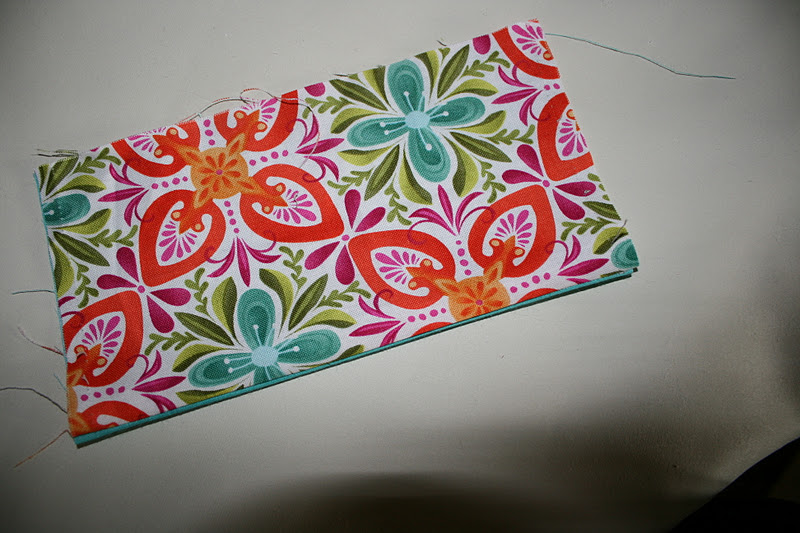 |
| 5. Turn right sides out and press. |
 |
| 6. Place the flap at the top of one of the outer bag rectangles, on the right side, and place the other rectangle right side down on top of it. Sew the sides and the bottom, leaving a 2" opening in the bottom that you will later turn the piece through. Do not turn right side out. |
 |
| 7. Put the batting pieces on top of the Mylar pieces and leave the shiny side as your right side. I used a little spray basting to hold the batting on while I sewed. You might also try a glue stick to help it stay in place. Place the shiny sides together and sew the sides and bottom. Do not leave an opening in the bottom. Do not turn. |
 |
| 8. Place the outer bag inside the lining, putting the right side against the shiny side. Pin in place around the top. |
 |
| 9. Sew around the top edge, all the way around. |
 |
| 10. Put the outer bag out and turn over the lining through the opening in the bottom. |
 |
| 11. Sew the opening in the bottom closed by hand. |
 | |
| 12. To close the bag, simply pull the flap from one side of the open bag over the top. It will close just like an old style plastic sandwich bag. |
Update on my shingles: Thank you SO MUCH to everyone who left such sweet comments and sent such uplifting emails! It's so nice to have friends out there! My rash is better, although the burning pain is still there. I still have a little recovering to do, but hopefully, I will be over this soon! My heart goes out to those of you who have painful diseases that you live with every day of your lives! I don't know how you do it! I know of several of you out there who do just that! My prayers are with you!

What a GRRRRREAT idea! Great pics and tute...thanks for sharing =)
ReplyDeletehugZ,
annie
rubyslipperz106.blogspot
Thanks for the great tutorial and the wonderful gift idea!!!! Glad to hear you are doing better and I hope those nasty shingles are gone for good real soon.
ReplyDeleteLove this...you are way to clever for words my friend. xoxoxo HUGS
ReplyDeleteHow absolutely darling - what a GREAT idea to use a chip bag for insulation! May I use your pic and link to this?
ReplyDeleteawwhhhh...you must be doing a little better...what a cute little gift... They gave me Lyrica when I had them..it does help...and within a few days too...
ReplyDeleteThank you for sharing you talents. As I read this and you mentioned adding a gingerbread cookie, I thought it would be cute to make the 'front' side out of clear vinyl to showcase that cookie! And because I read somewhere earlier today that someone recycles the vinyl from newly purchased sheets and the like, it just sort of added to the whole idea of recycle and use what you have on hand!
ReplyDeleteoh YES !!!!
ReplyDeleteVery clever. Glad your doing better. I understand the pain can last though. Hopefully not very long!
ReplyDeleteWonderful idea Linda. Thanks so much for the tutorial. I'm so glad your up to posting a bit but sorry your still dealing with that awful deep painful burning. Keeping you in my thoughts and prayers. Big but oh so Gentle Hugs...
ReplyDeleteThanks for the tips Linda. I've been making some of this bags but never done this way.
ReplyDeleteGreat idea. Thanks for the tutorial. I'm glad you are feeling better and hope you are fully recovered soon.
ReplyDelete